
 List of items:
- (3) Cans - 2 Can empty, 1 can full and unopened
- Sharp blade (preferably from a box-cutter/X-acto knife.)
- Hard flat surface (I use a large tuna can)
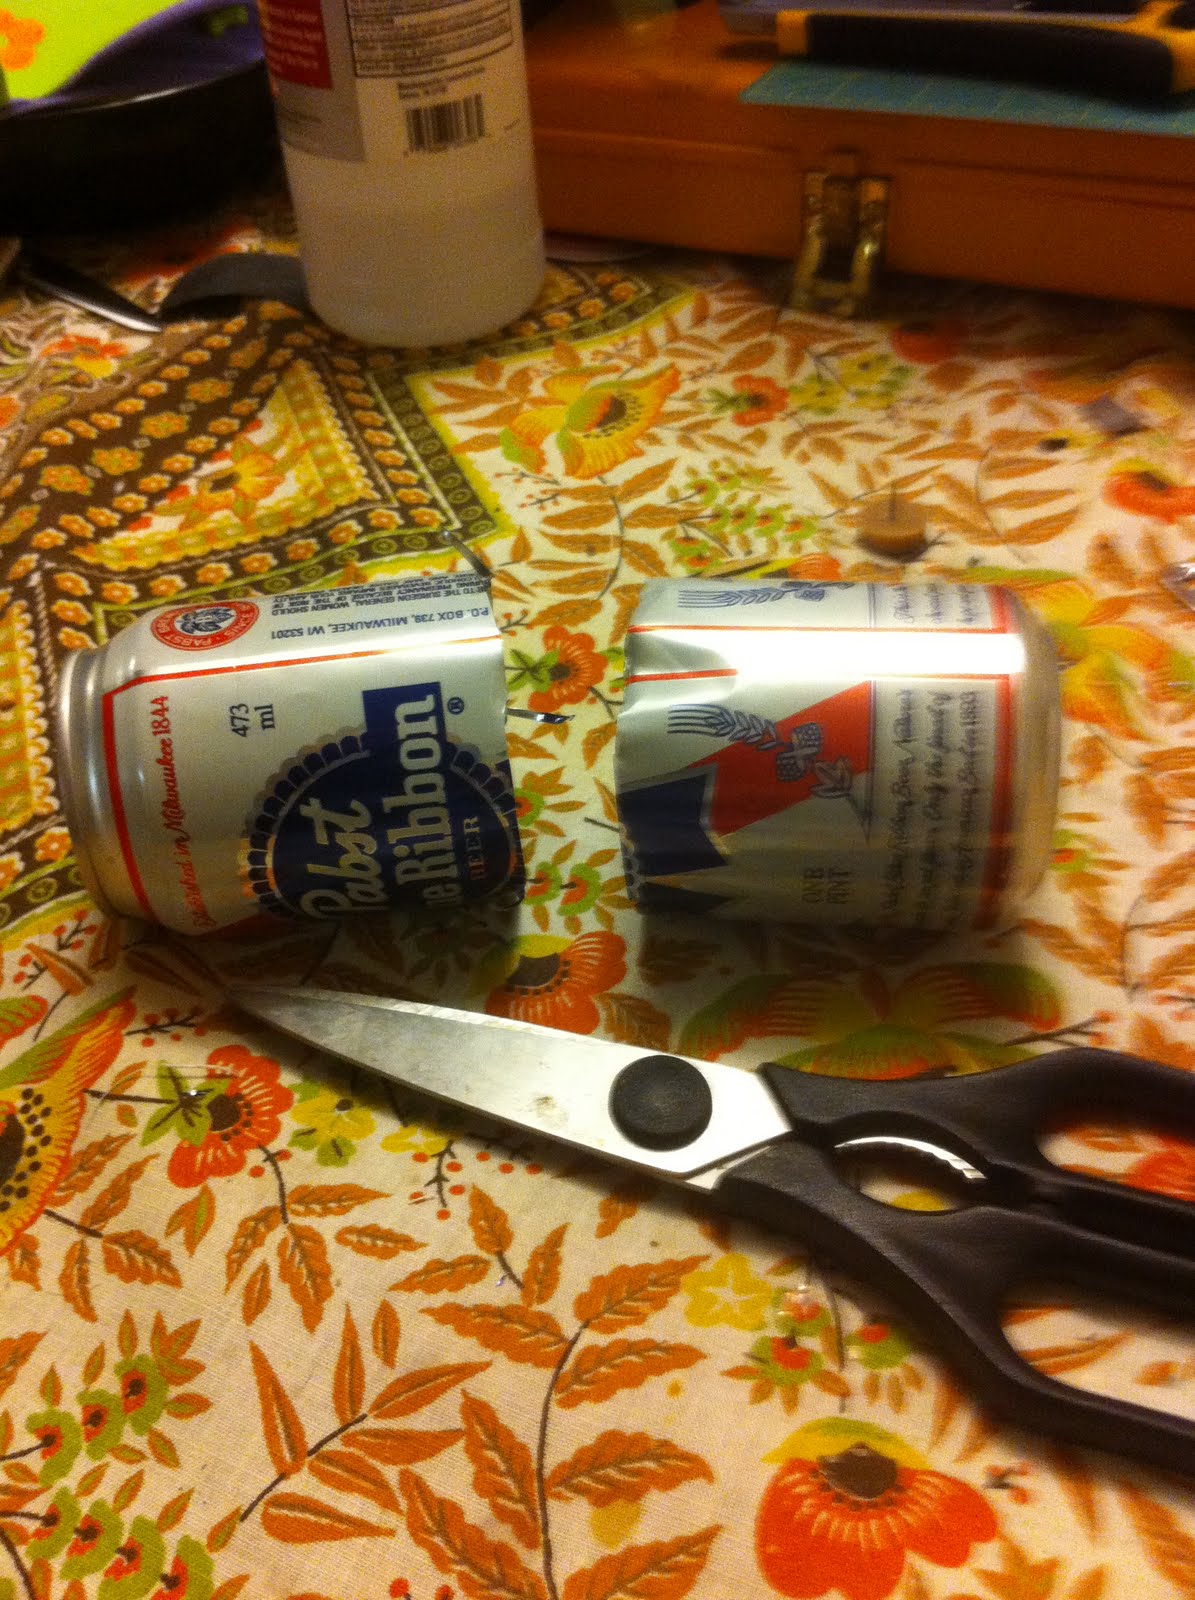
- Scissors
- Can opener
- Small device to create holes ie. nail


Step Three - Bend the tabs down into the bottom of the can. Then run your thumb and forefinger around the score so that you will weaken it. Bend the tabs back out of the can. If you have trouble with them coming off, just wiggle the tab so that the area around the score is flexing, it should pop off with some effort.


Step Four - Make holes around the piece you designated as the top of your stove to allow gas to escape. They should be evenly spaced.
- If you are making a penny burner, make sure that there are holes in the piece designated as the top to allow for easy pouring. See the middle picture in the last set at the bottom of the page.
- If you are making an open face, after you have created the holes, run the can opener along the top of the can to cut away the piece.


That's the end, I'll leave you with a few helpful tips. These stoves can get really warm, if you can't see the penny on my stove (the final picture at the bottom) it's actually lost all it's shape and formed to the curve of the can. With all the stoves you need to warm up the alcohol to an almost boil before it will fully turn into a stove. I suggest developing something that works for you. I created a stand to sit over my open face stove that will then heat my penny stove until it's ready to be lit. I've also resorted to "splashing" some alcohol on the outside of the stove to heat it up (THIS IS NOT RECOMMENDED) I have burnt myself several times doing it and this is why I created the stand and open face stove.


Please comment, or email me with suggestions/tips.
Eric@TCS
No comments:
Post a Comment